Learn how to automate an approval process in Airtable with Aron Korenblit and Jason Staats.
Accountant Jason Staats (jstaatscpa on Twitter) of Realize LLC manages businesses’ back-office processes. A favorite part of the business is using nocode to solve each clients’ unique problems. Even though there are fantastic payroll apps on the market, there are always pieces of information that need to be collected from elsewhere. Countless opportunities exist for problem-solving accountants who can understand a businesses’ workflow problems, the native integrations that exist, and how to fill in the gaps when two services do not talk to one another easily.
In this livestream, Jason and I build a time-off request and approval automation workflow.
Business owners currently processing time-off requests manually can learn how to use Airtable to streamline the task. The workflow shown here can further be extended to handle other routine activities, like expense tracking, employee onboarding, or monthly reporting.
This stream is also helpful to accountants looking to expand business offerings by building workflows to capture who is / isn’t on vacation for payroll purposes.
As a bonus, I show how to pre-fill Airtable forms and use Airtable hidden form fields.
A free Airtable account can be used to build the shown workflows.
With this build, we’ll be managing the entire life-cycle for a time off request. This means that each request will be an independent entry in our “Requests” table. We’ll also be referencing out a “People” table for tracking who is making time-off requests and who is responsible for approving or declining the requests. Linked records are used to connect data across the two tables.
In an “Approvals” base, we’ll start by building out the initial tables and data fields:
Request Table
People Table
TIP: One can always add additional fields or change field types as one builds out a workflow. If this were adapted to be an expense tracking workflow, add an attachment field to hold receipts. Other fields that could be added include Slack Channel or Department.
TIP: If data is in another third party tool, look to see if there are integration options with Airtable.
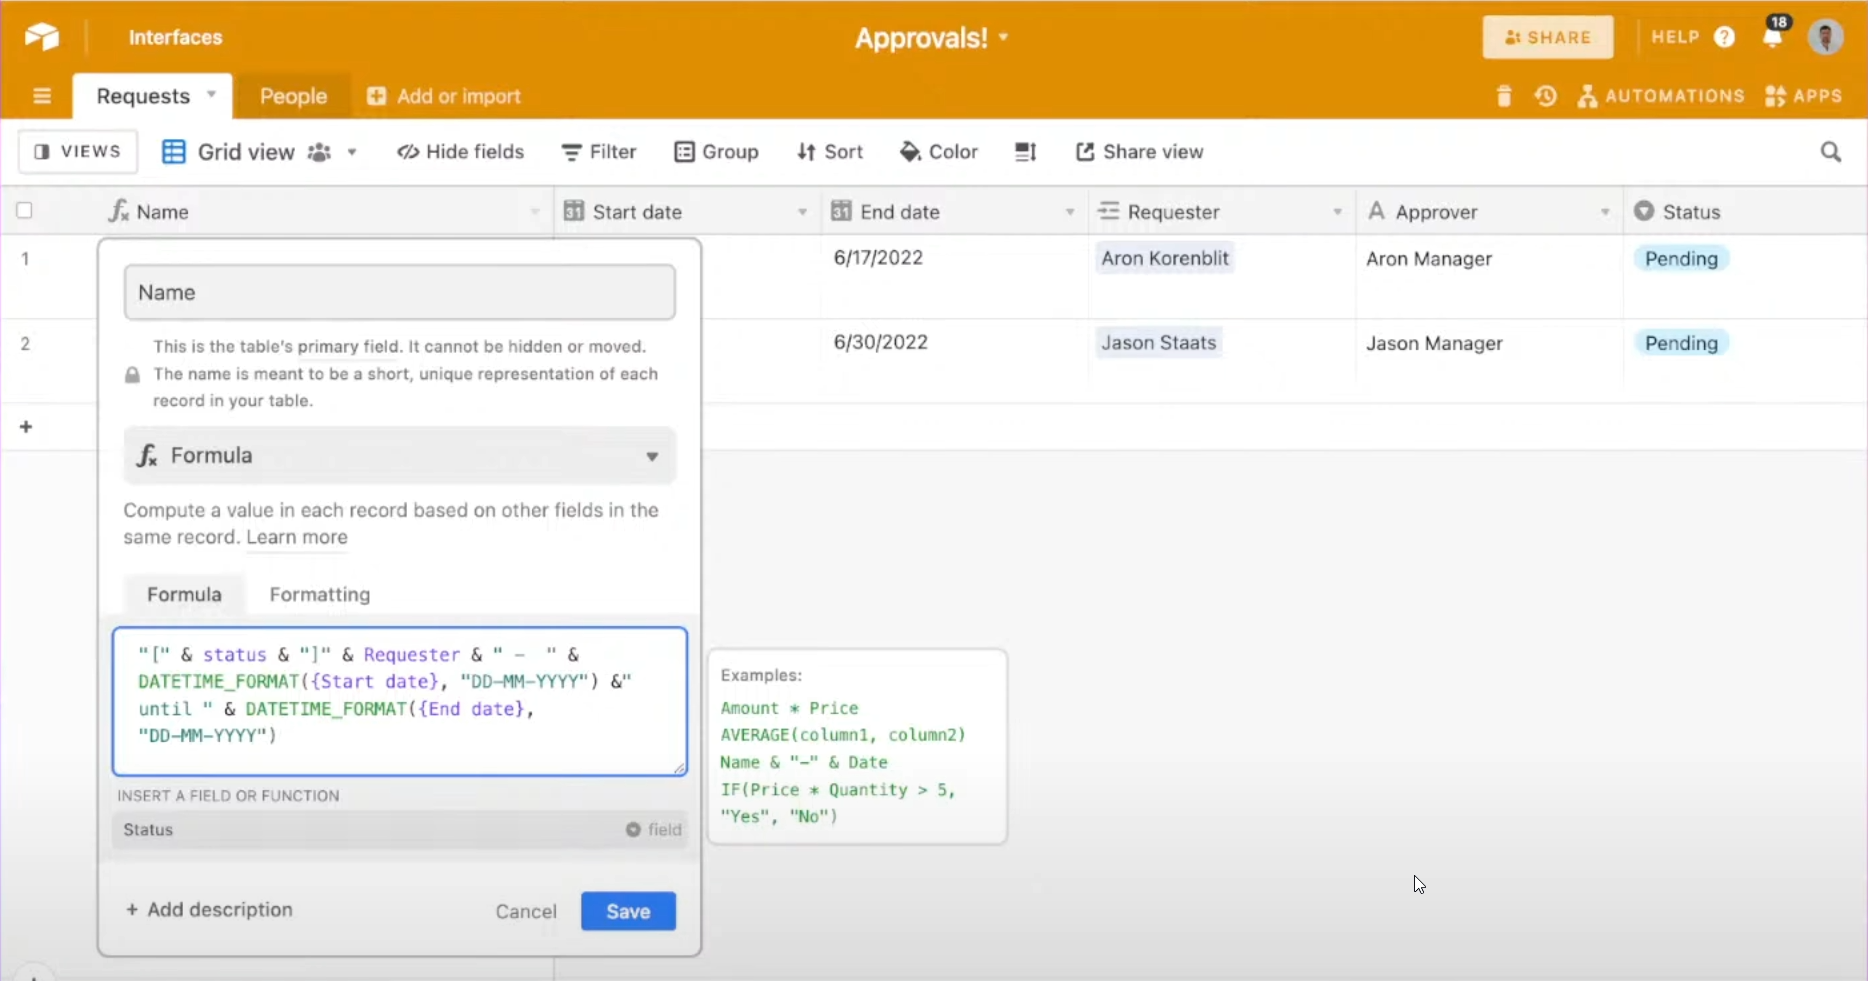
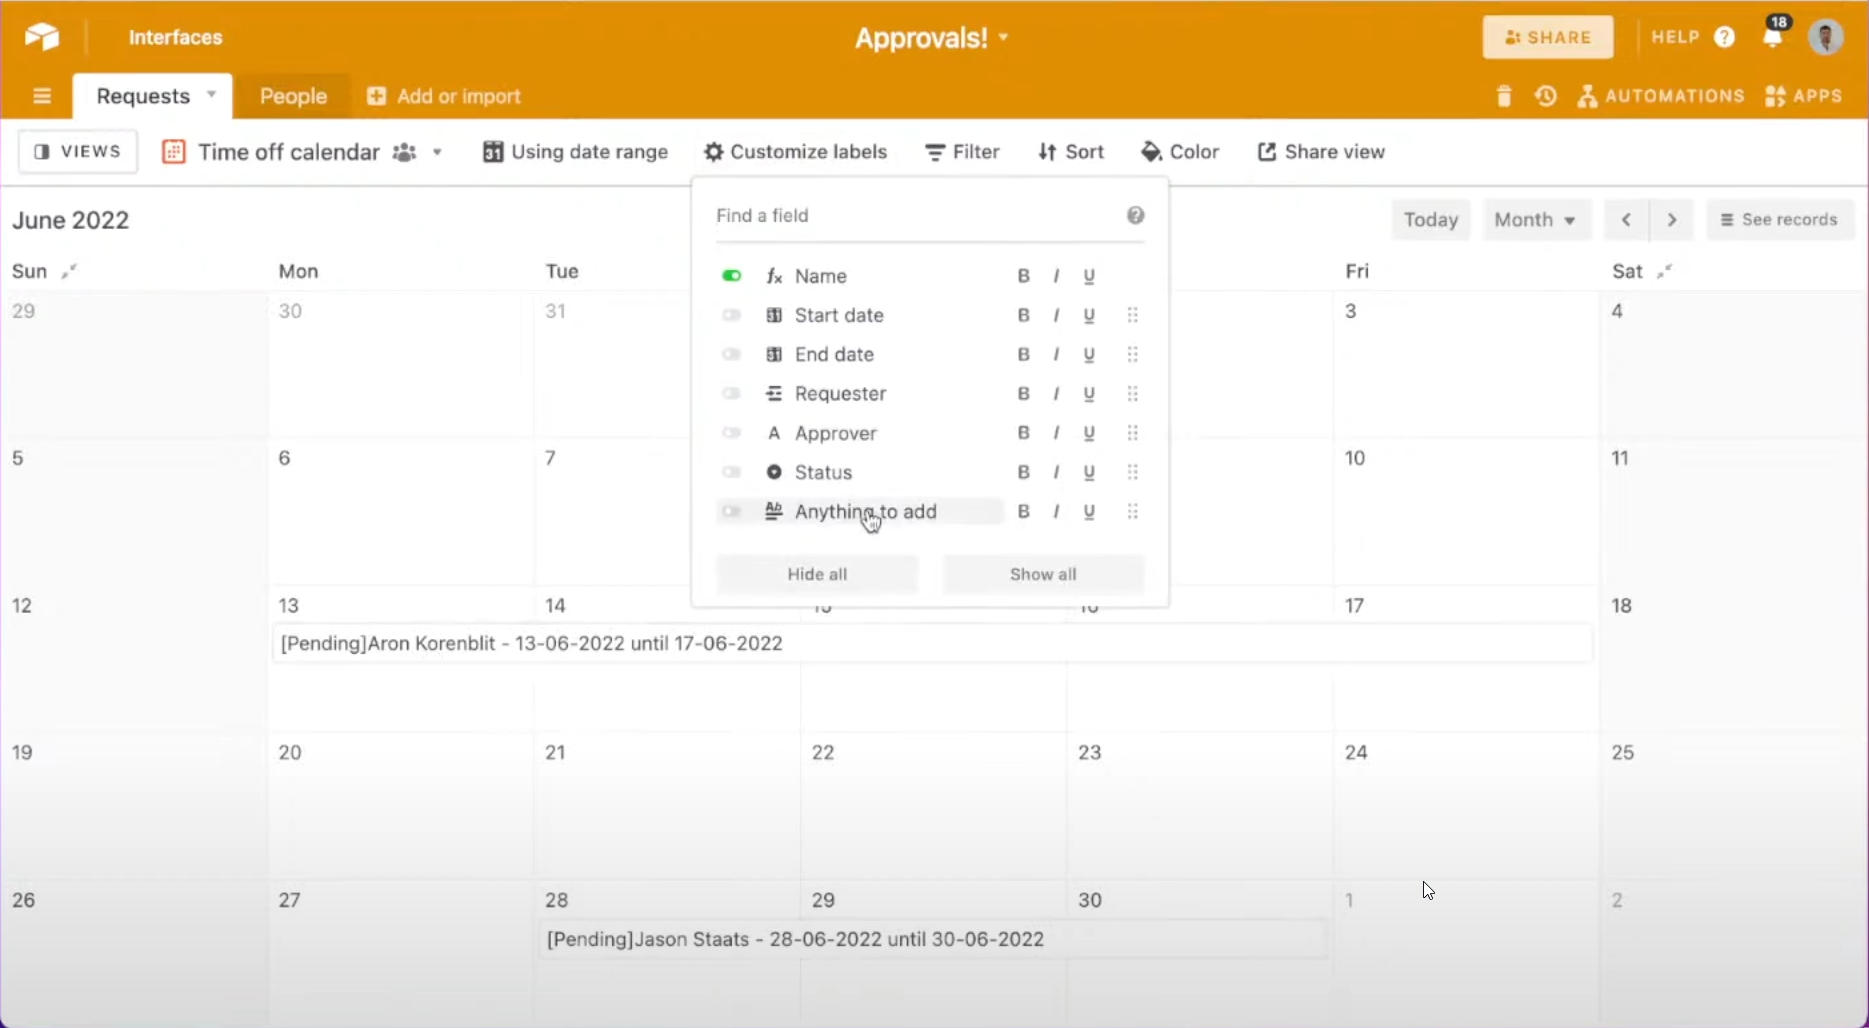
What’s better than a table view? A calendar view. Easily see each employee’s time off request and how they may overlap with one another. By adding a formula field, one can see a requestor’s name, requested dates, and request status in the table’s primary field.
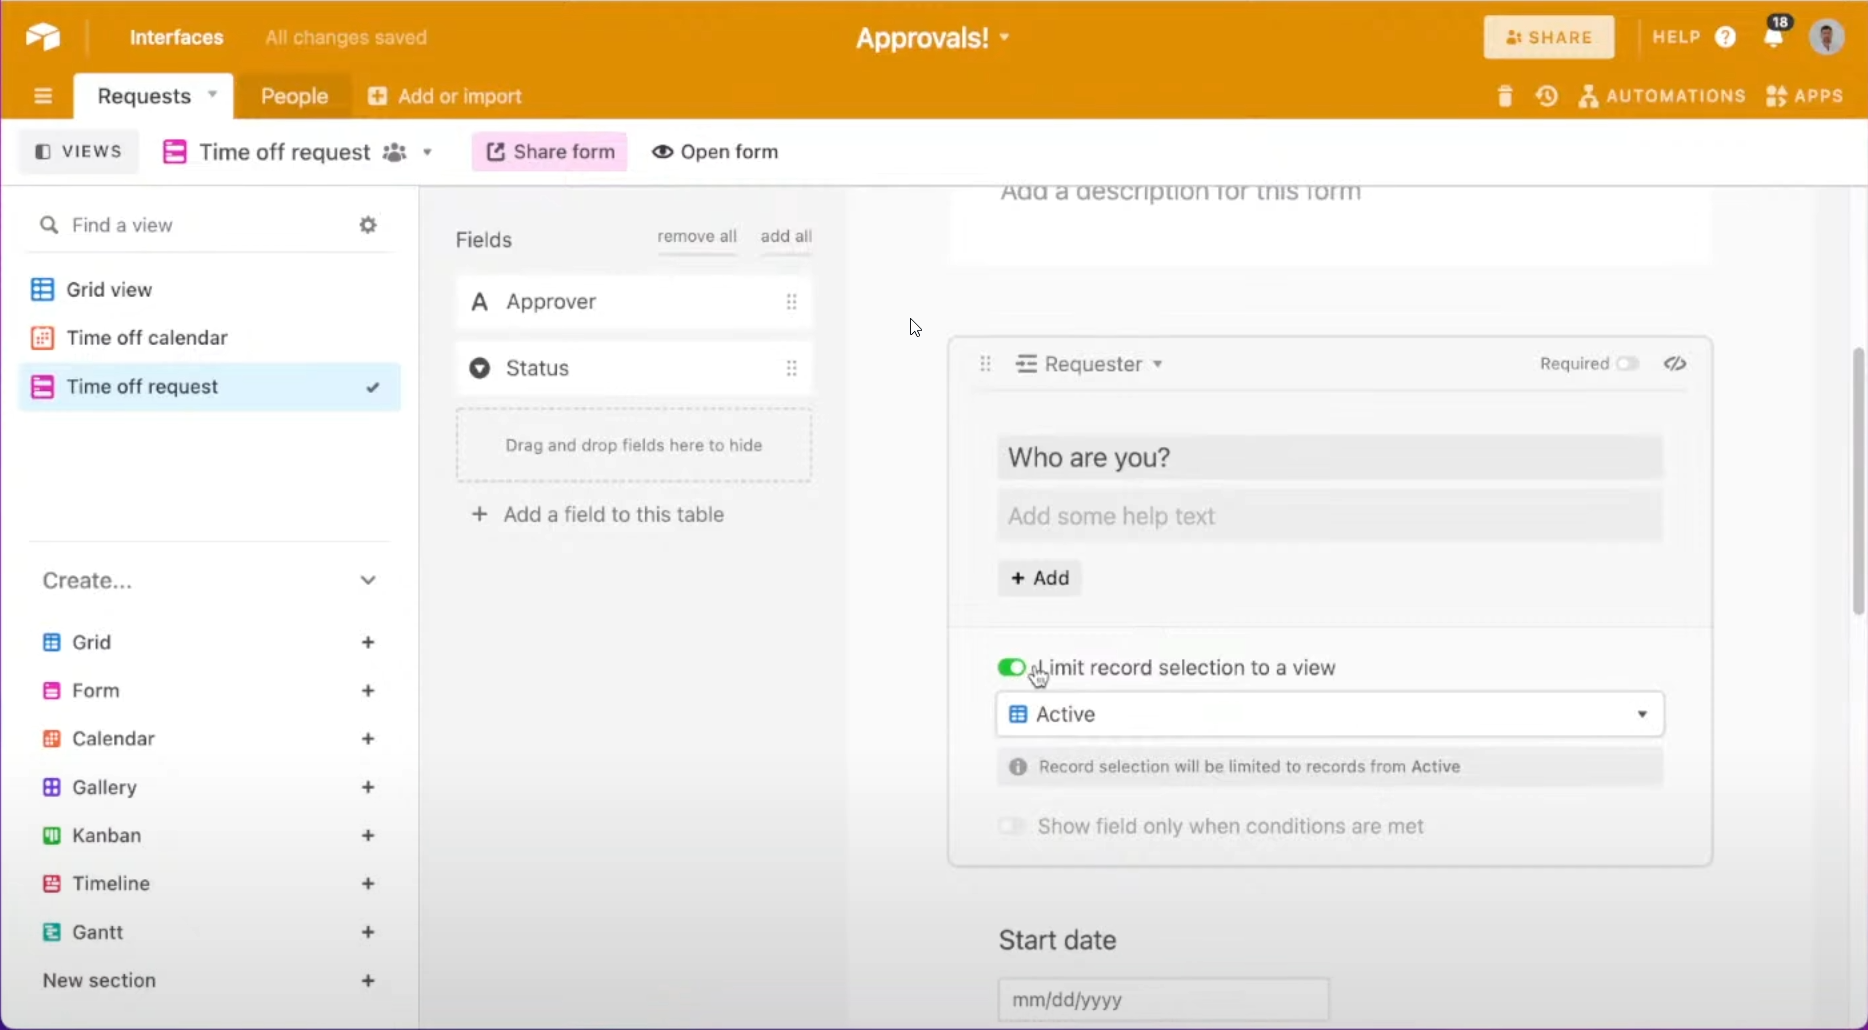
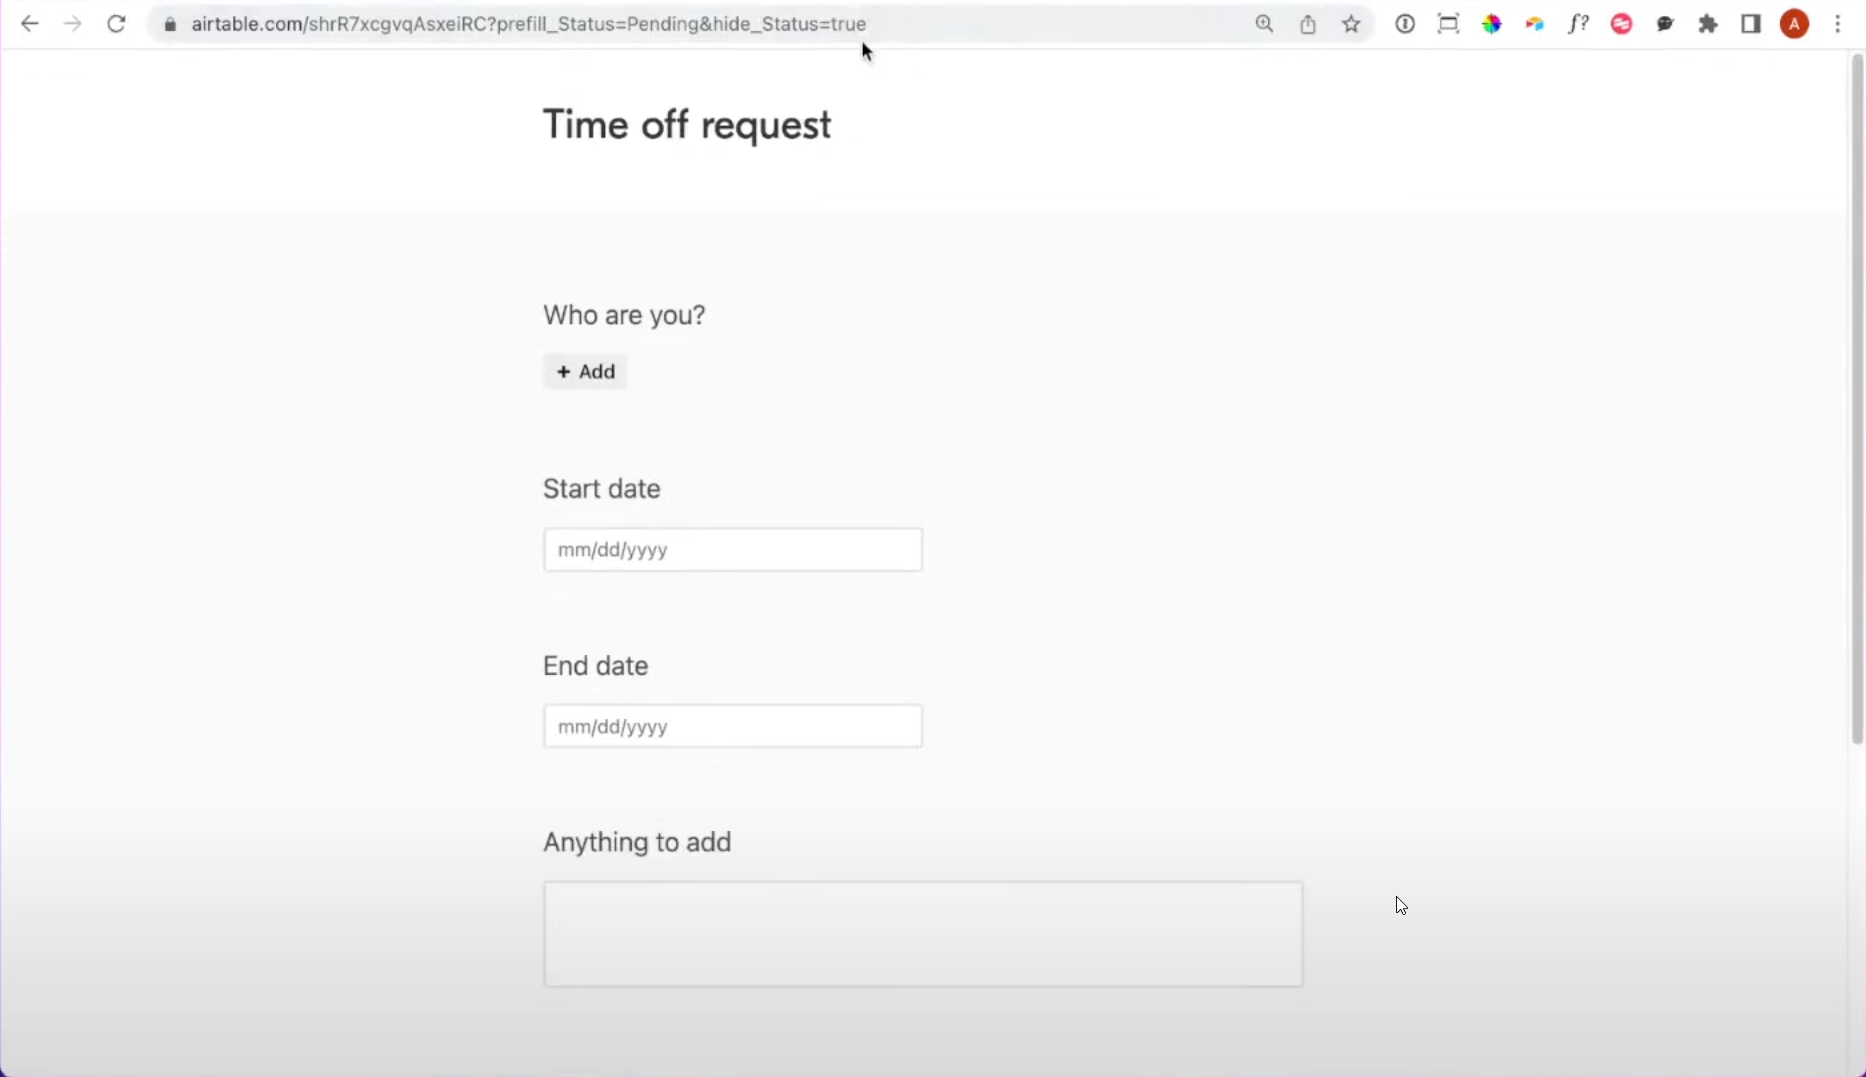
In the Requests table, create a form for employees to request time off. You’ll be capturing the following information:
TIP: When forms are submitted, status will be blank. There are several ways you can populate the field:
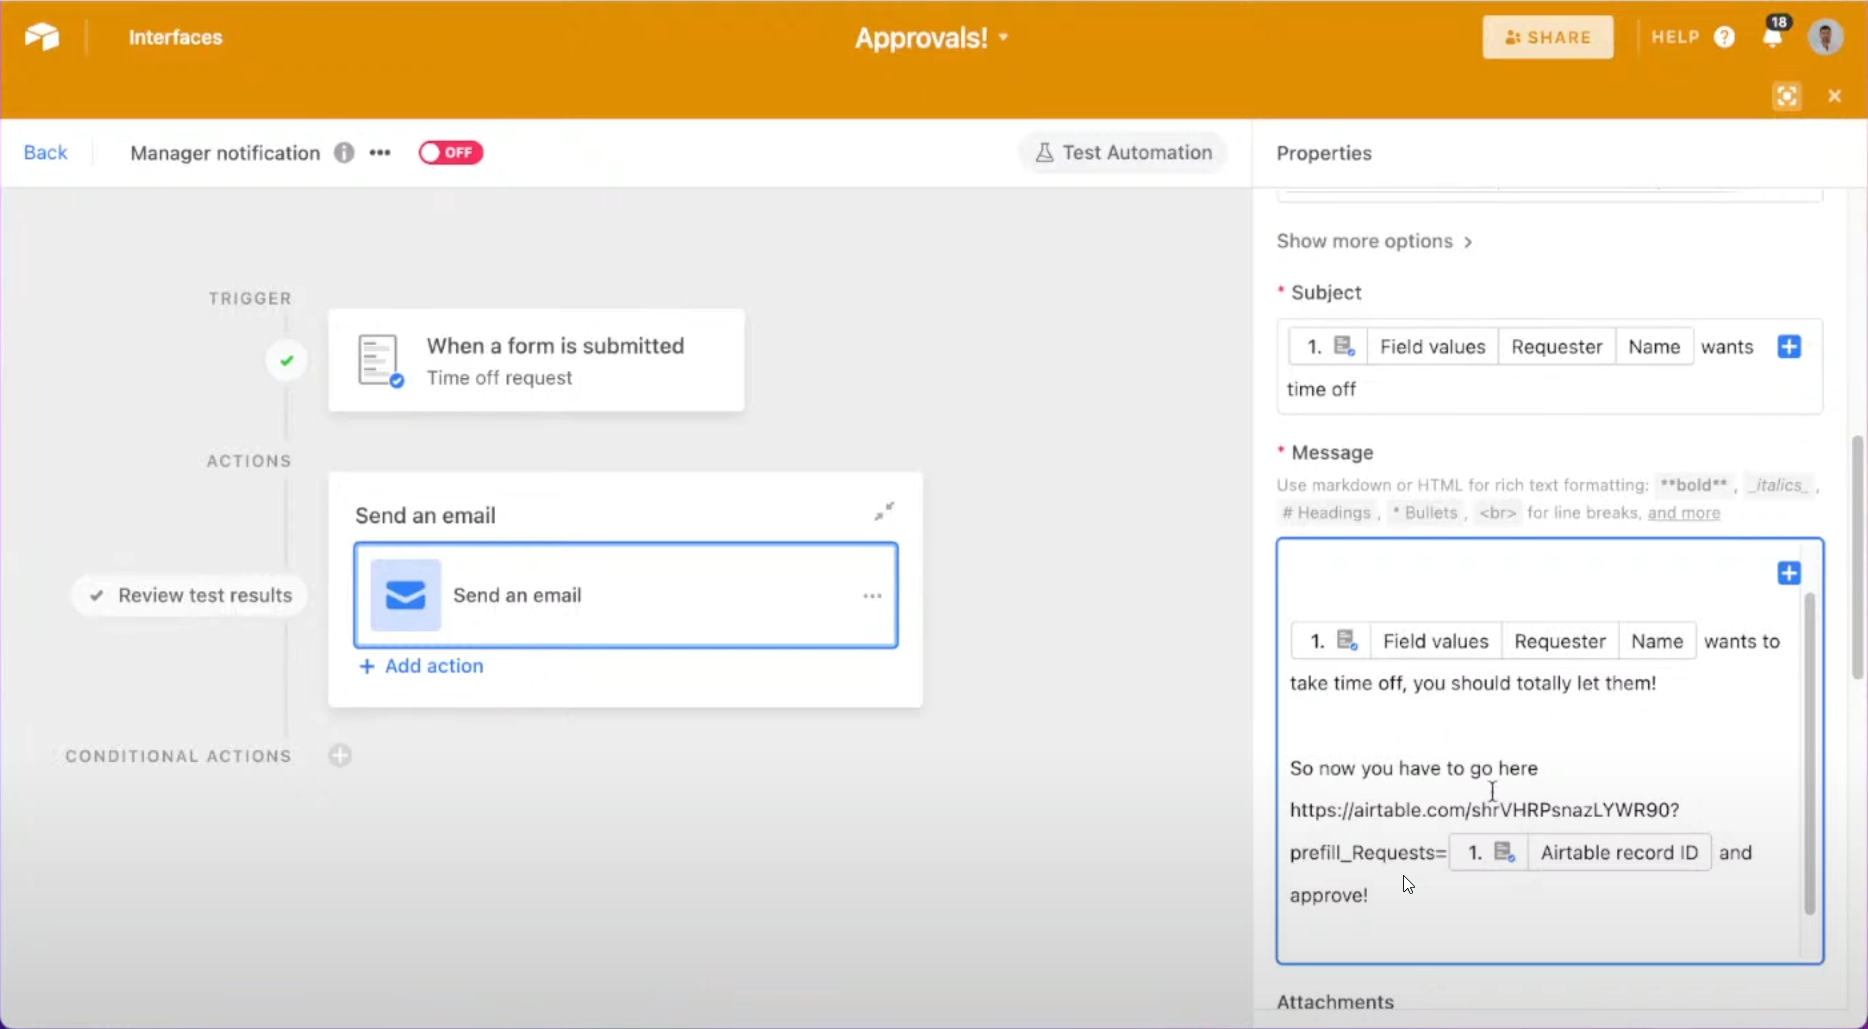
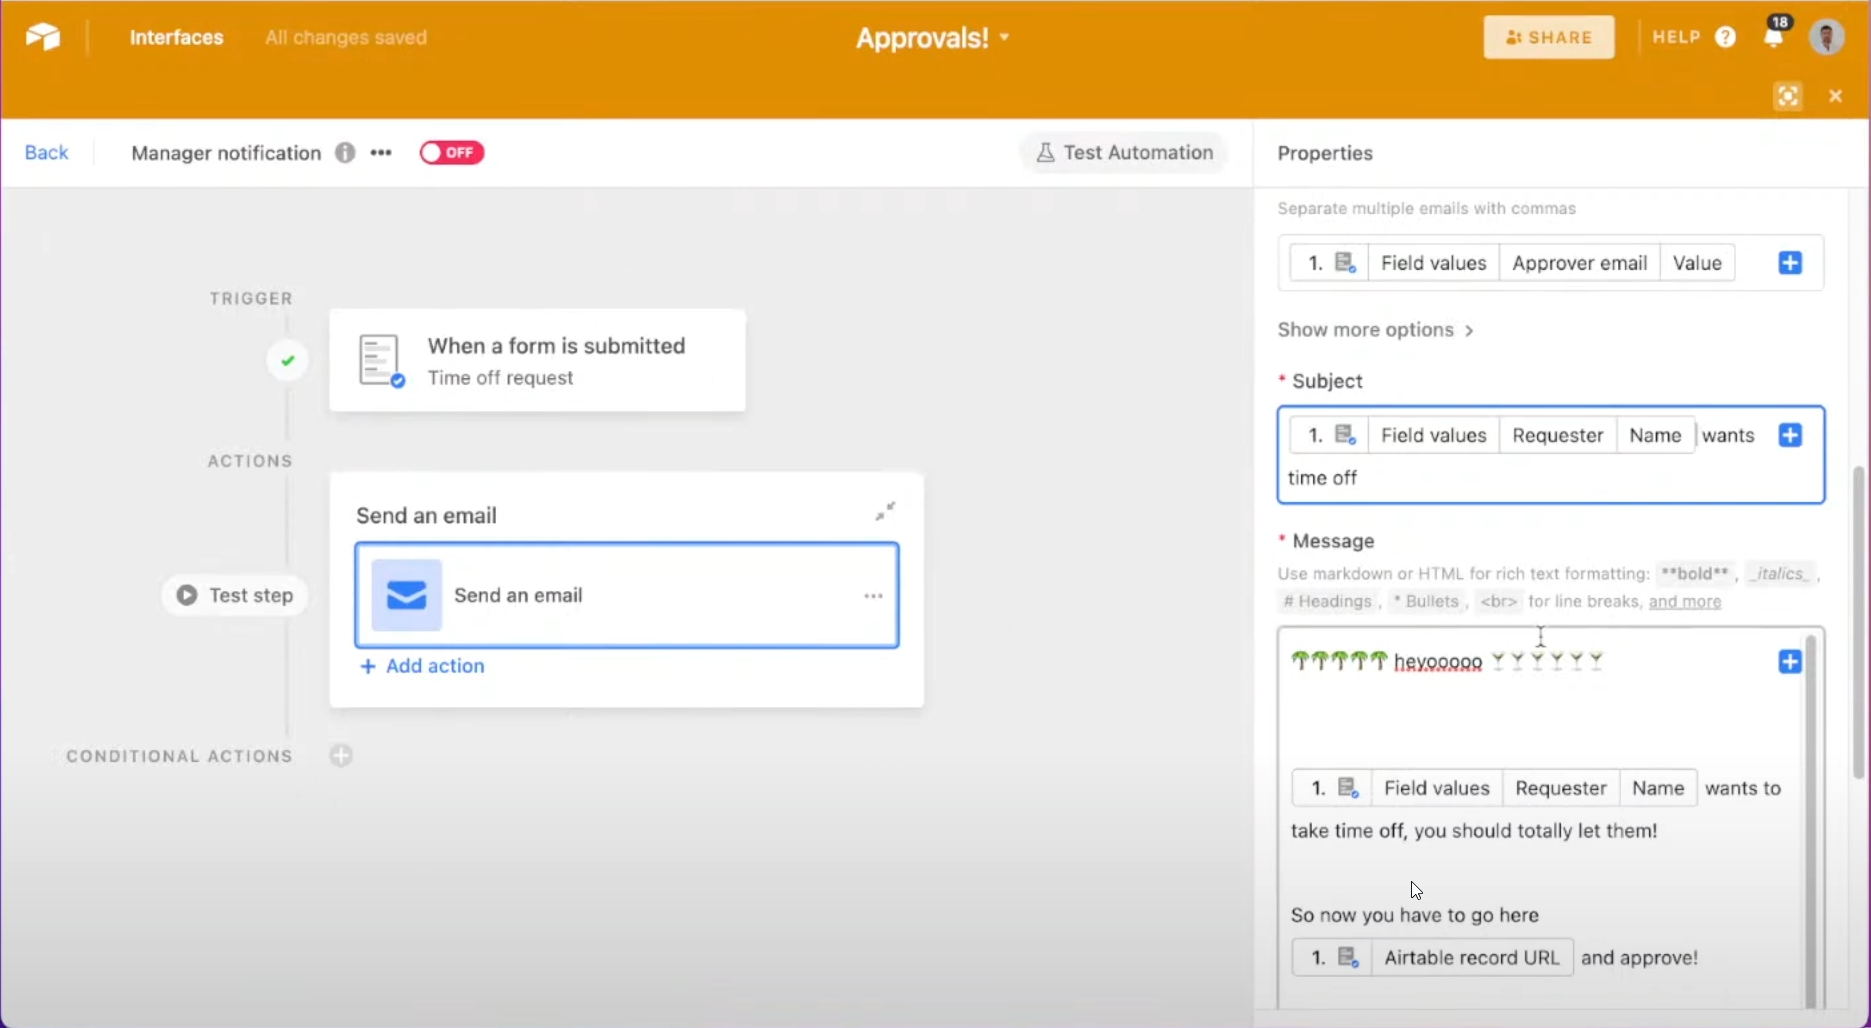
The next step is to create an automation to notify a manager via e-mail that a time-off request requires approval. This step requires updating both the Requests and People tables to have now include lookup fields so that email addresses are available in the automation.
The automation starts when the time-off request form is submitted. In the body of the message, include data from the request that will assist the manager in making an informed decision.
Once a request is submitted and a manager notified, there needs to be a way to accept or reject the request. To do this, we’ll need to first create an Approvals table and then a form tied to this table. This approach does not require managers to be logged in to Airtable to process submissions. (NOTE: Depending on one’s business, this approach could have privacy and security risks.)
Here are the fields to add to the Approvals table:
With the Approvals table created, it’s now time to focus on building the form. For this to work, the Requests table is updated to include a lookup to the Approvals table.
Now that the Approvals form exists, add a link to it to the outgoing email. So that managers don’t have to scroll through a list of time-off requests, add URL params to the link so that the displayed form is pre-filled with key information.