Glide's CEO David Siegel shows how to build a mobile app for submitting receipts and a desktop app to review and approve expenses.
Is it possible to build an app with nocode in less than an hour? Yes. Is it possible to build two apps? It is indeed with the right tools.
For this stream, I was joined by Glide Co-founder and CEO David Siegel (@devsgl) to learn how to streamline expense reporting and approvals. David shared that Glide was inspired by the founding team seeing businesses struggle with creating internals apps. They've since created a nocode tool for building beautiful apps based on data that is stored in Google Sheets, Airtable, or even by uploading Excel data.
Glide is designed to be both simple and powerful from creating the design, managing the data, assembling the logic, and then ultimately sharing the app. It is a great tool for those starting with nocode (or don’t even know what nocode is) to experienced visual developers.
This video is also for anyone looking to build private internal tools and apps, for use within a business, that are not intended to be listed on Apple's App store or Google's Play store. Glide can be used to streamline operations by anyone using pen / paper to record data while away from a computer. A field operations professional could use a Glide app to mark issues on a job site or a real estate agent could mark items to be resolved before closing a sale. In addition to capturing information via text fields or button clicks, Glide offers photo upload and bar code scanning features.
To follow the featured workflow, you will need accounts on the following services:
The following templates were also used:
Use Case: Our goal is to make it quick and easy to capture receipts and submit for approval. If we're at the airport on a business trip eating a meal, we should be able to capture a photo of the receipt, cost, date, category, and a short description before boarding our flight. A manager should then be able to just as easily approve or reject our expenses using a separate app.
We started with an existing Airtable Expense Tracking template. This data source was used by both apps.
The next step was to connect Airtable with Glide. Once connected, Glide will analyze the data and create a default app that you can then customize.
Even though we are building the reporter and approving apps separately, we laid the foundations for both within Glide in this early step.
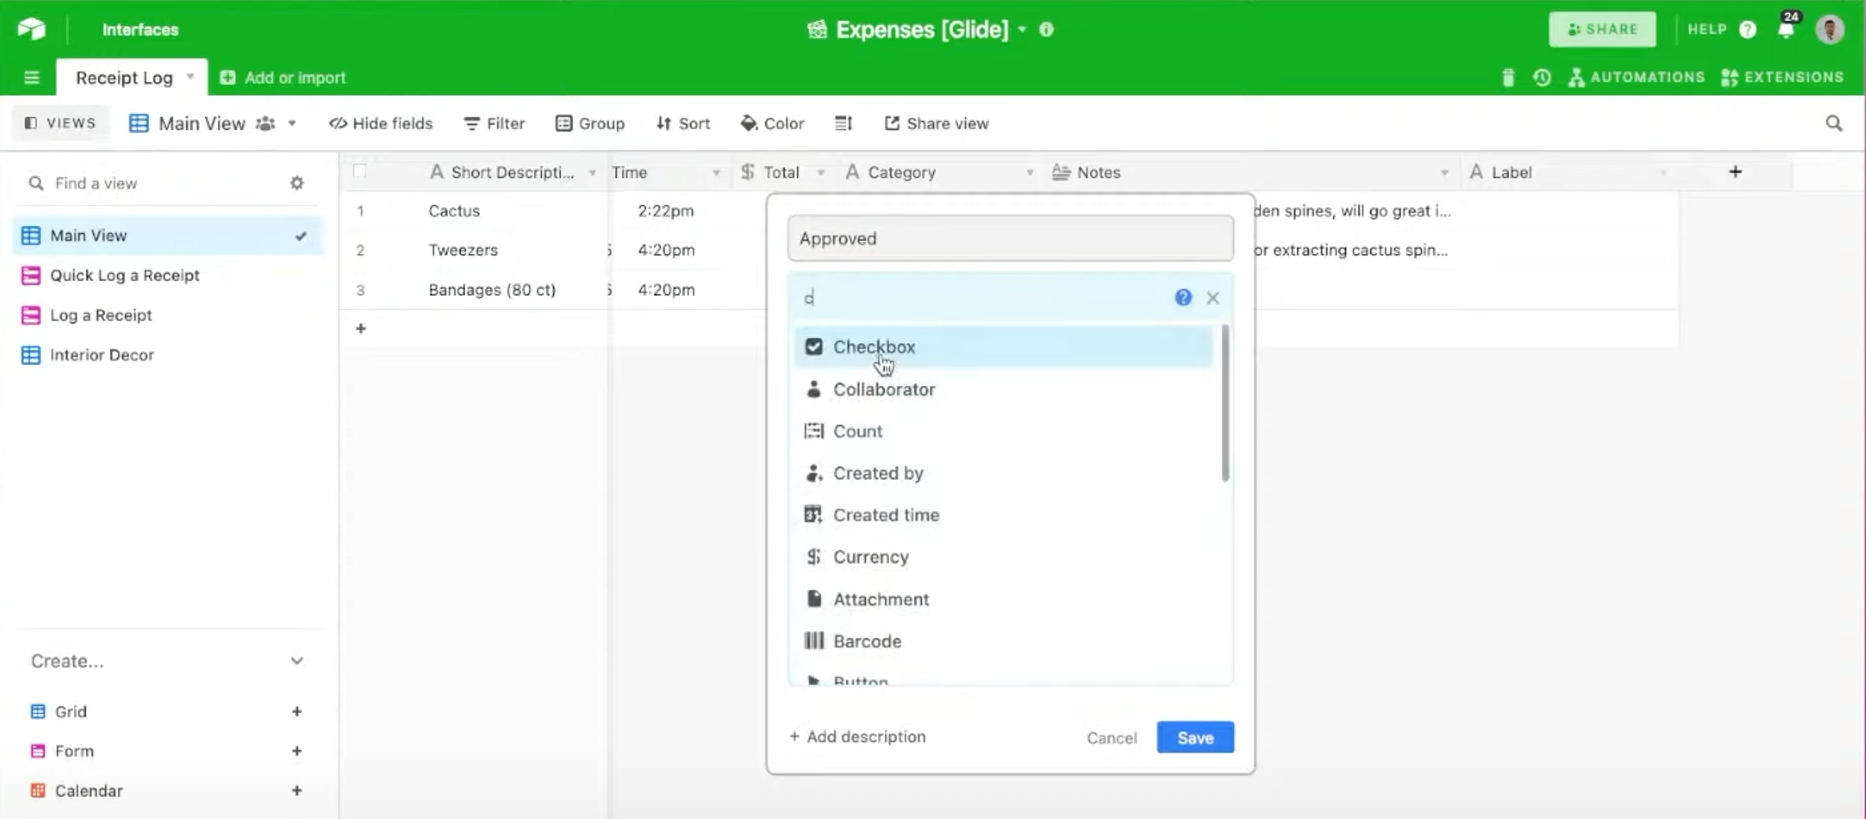
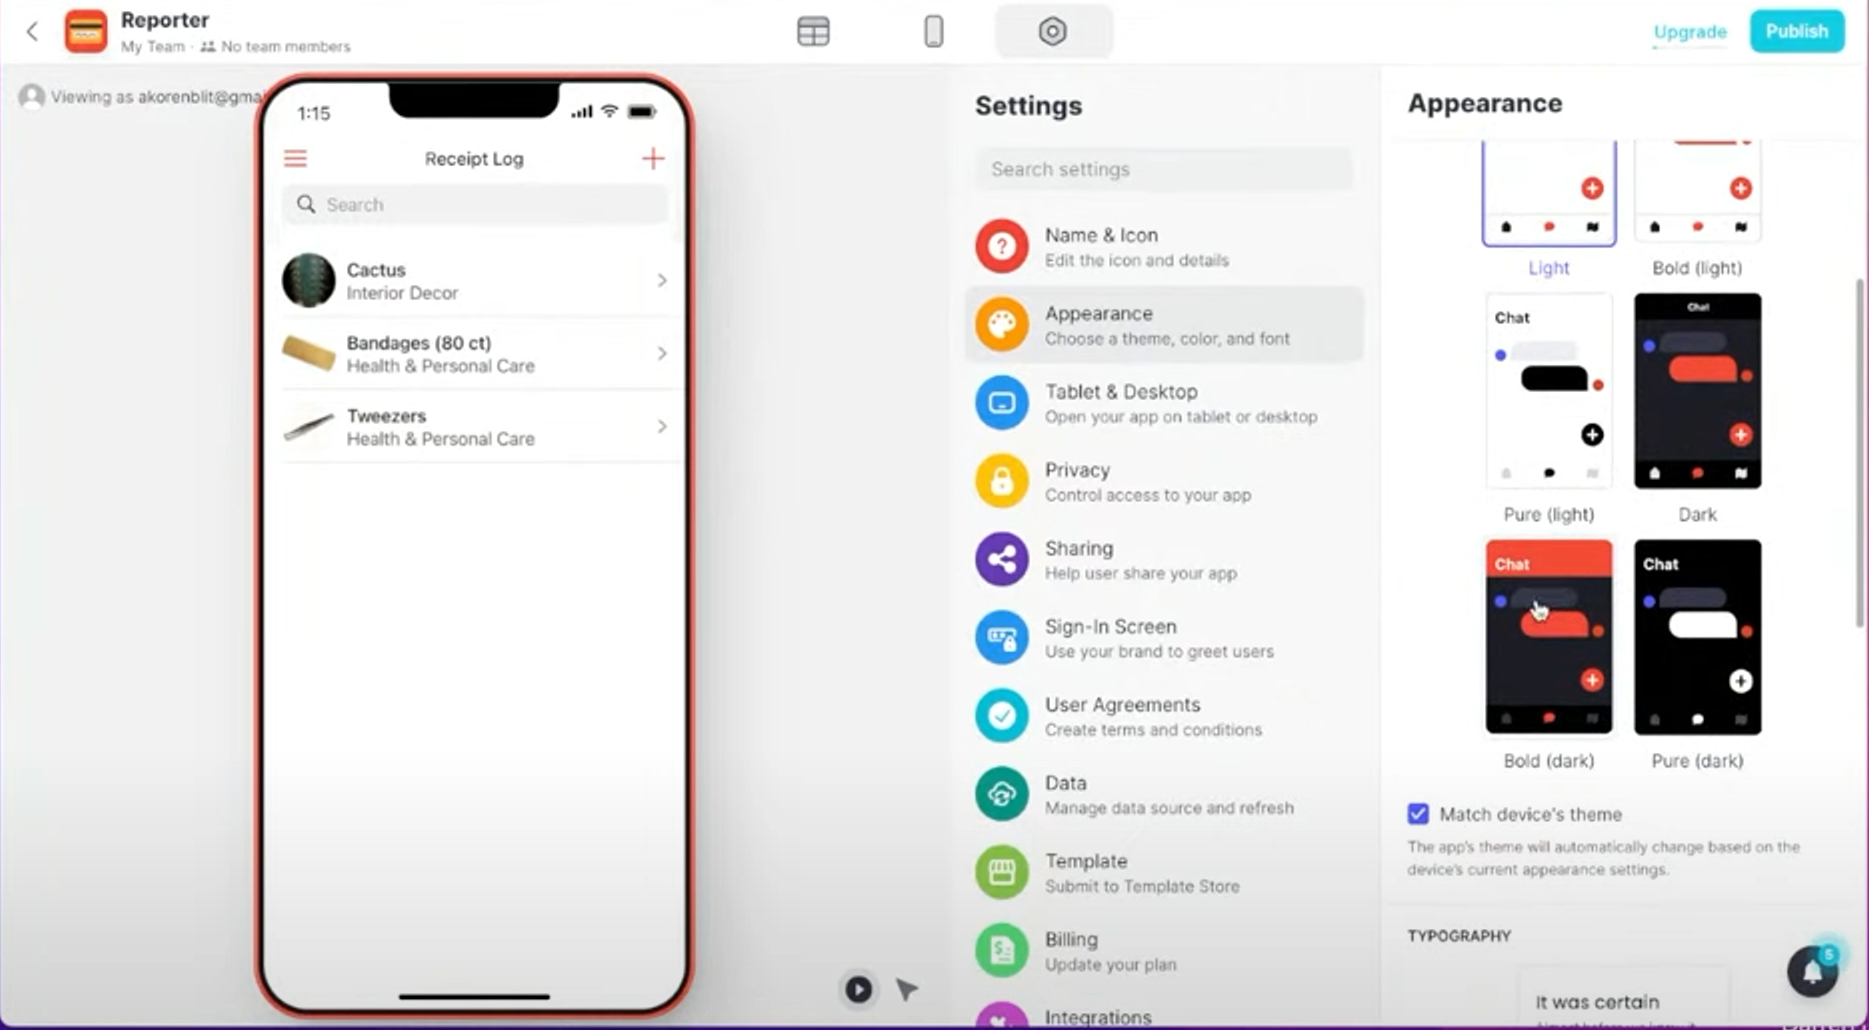
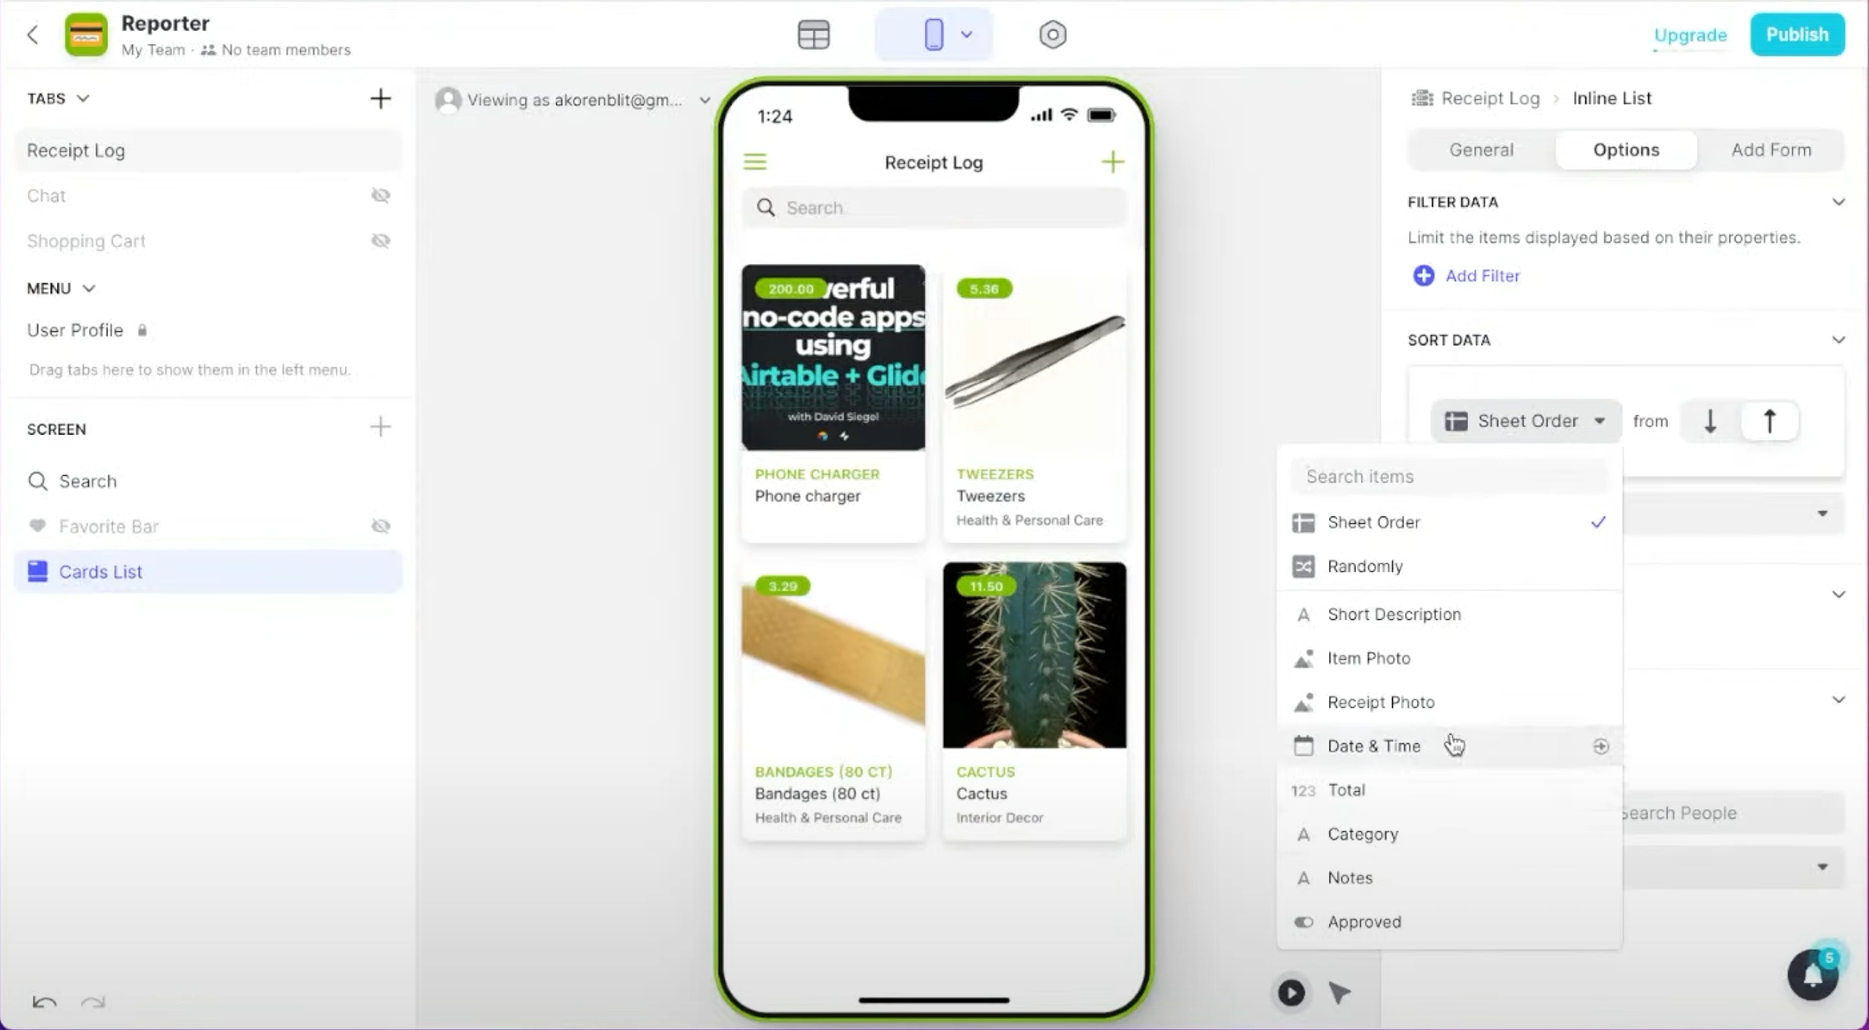
We talk a lot on the stream about nocode. David explained “no design," Glide’s approach to making it easy to build apps that look good and reflect a brand without being a Designer. Glide includes a number of pre-built ready to use themes coupled with the ability to re-arrange field order for a customized app without coding from scratch.
Once done building the app, it can be published as a progressive web application (PWA). This offers full control over who uses your apps as no app stores are involved. Sign-in can be optional or required for additional security.
Apps can be shared via a link or a QR code.
They can be loaded via a browser on a phone, tablet, or desktop. On most phones, you can save to your home screen even though it is not a native mobile app.

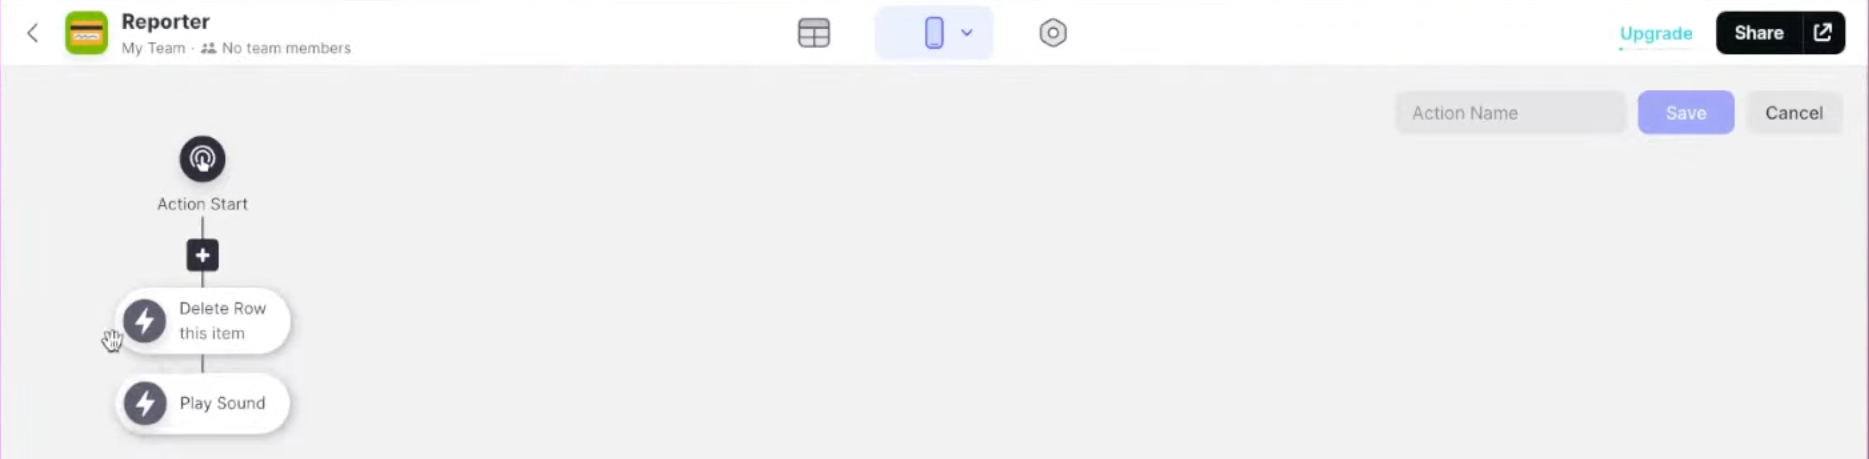
We then updated the app to play a sound when a row was deleted. After finishing that, we live tested our new app with submissions from those watching the build live and refined the design.

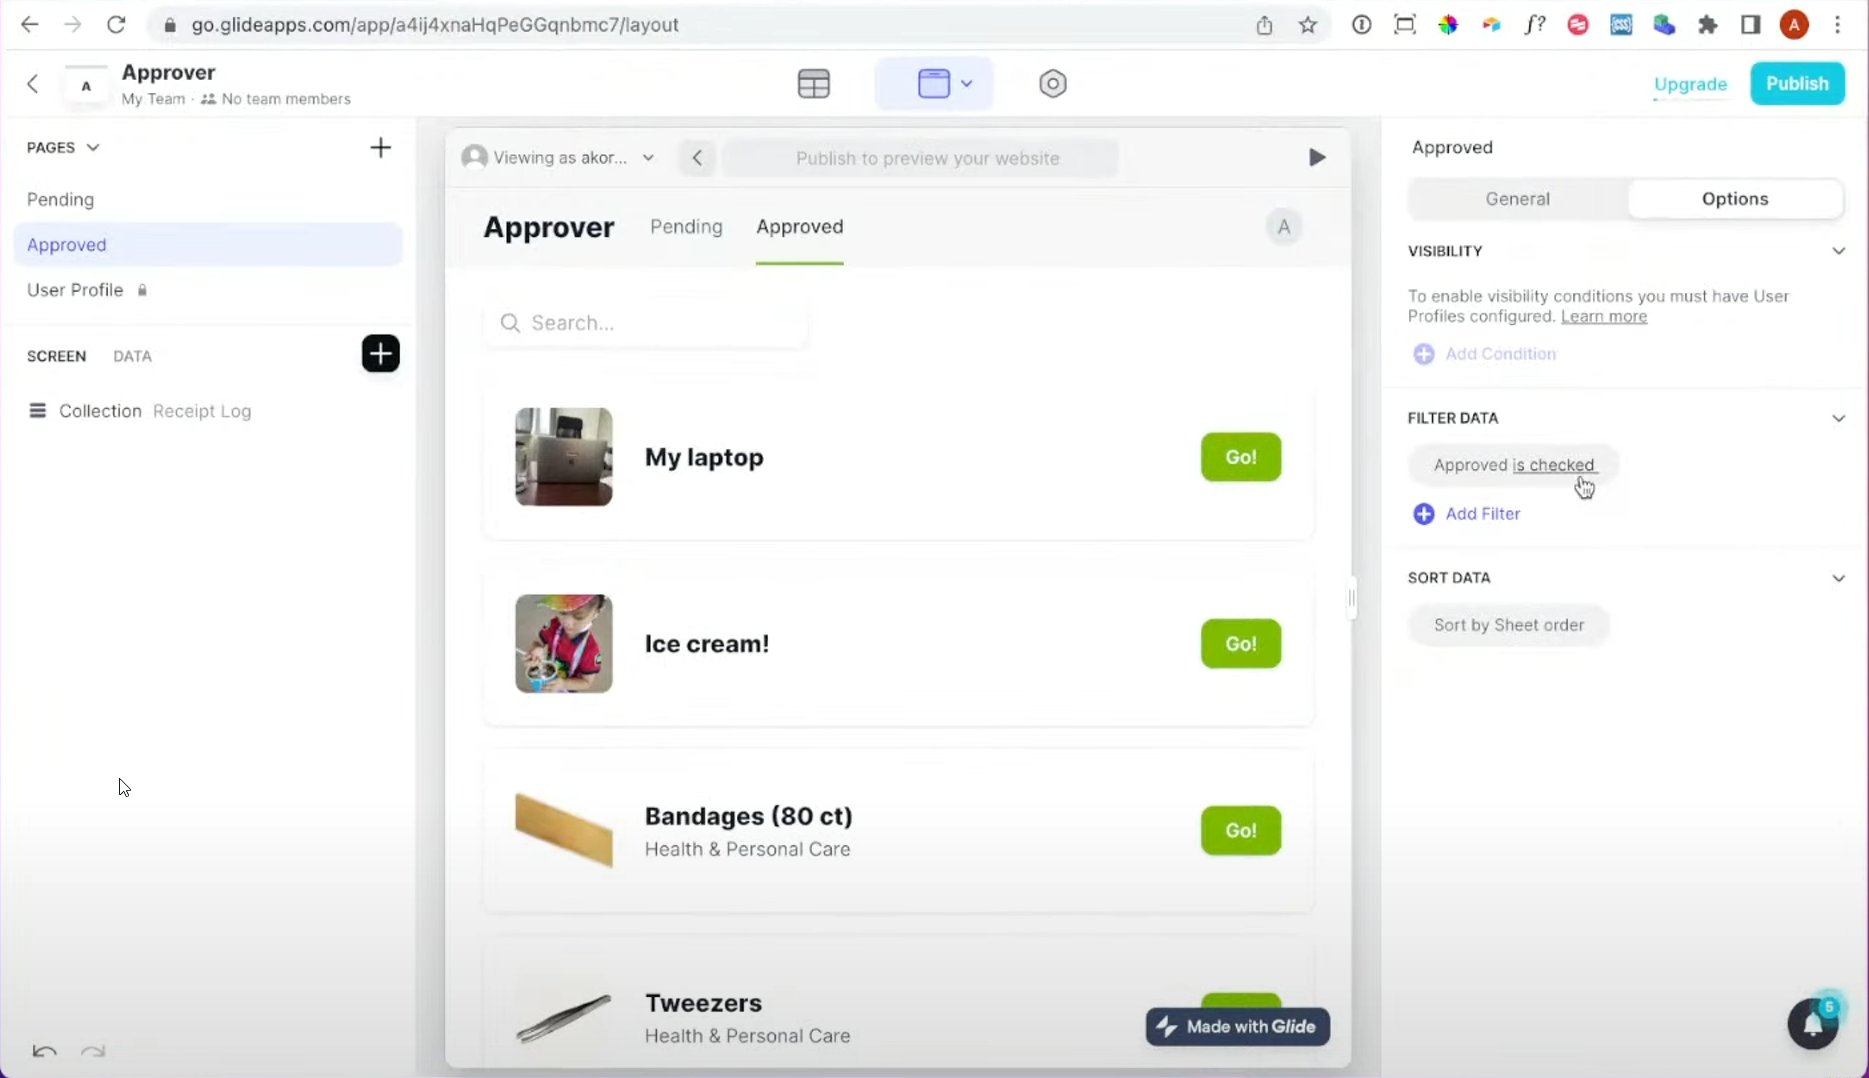
For our desktop approval app, we went through similar customization options as building the mobile app. Instead of an app, we used Glide's pages option.
Design-wise, we streamlined the layout to make it as efficient as possible to go through approvals.
Tip: Displayed data to be limited to only be relevant to the logged in user.
Ready to build your own apps on top of your databases? Check out Glide and let me know what you build!